Egg dyes
/By Mel Evans
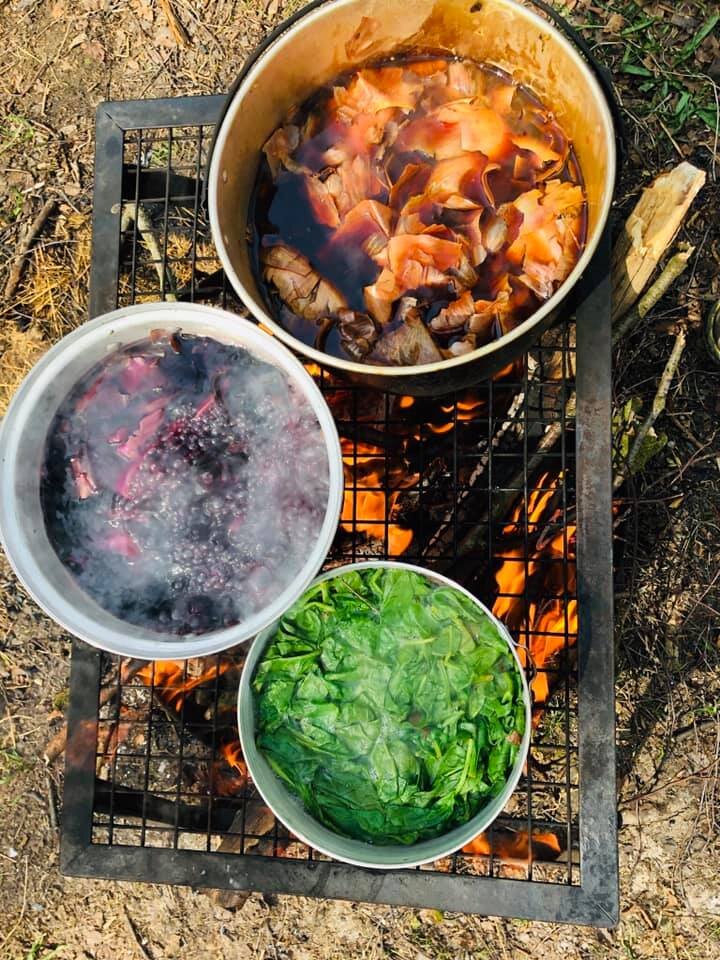
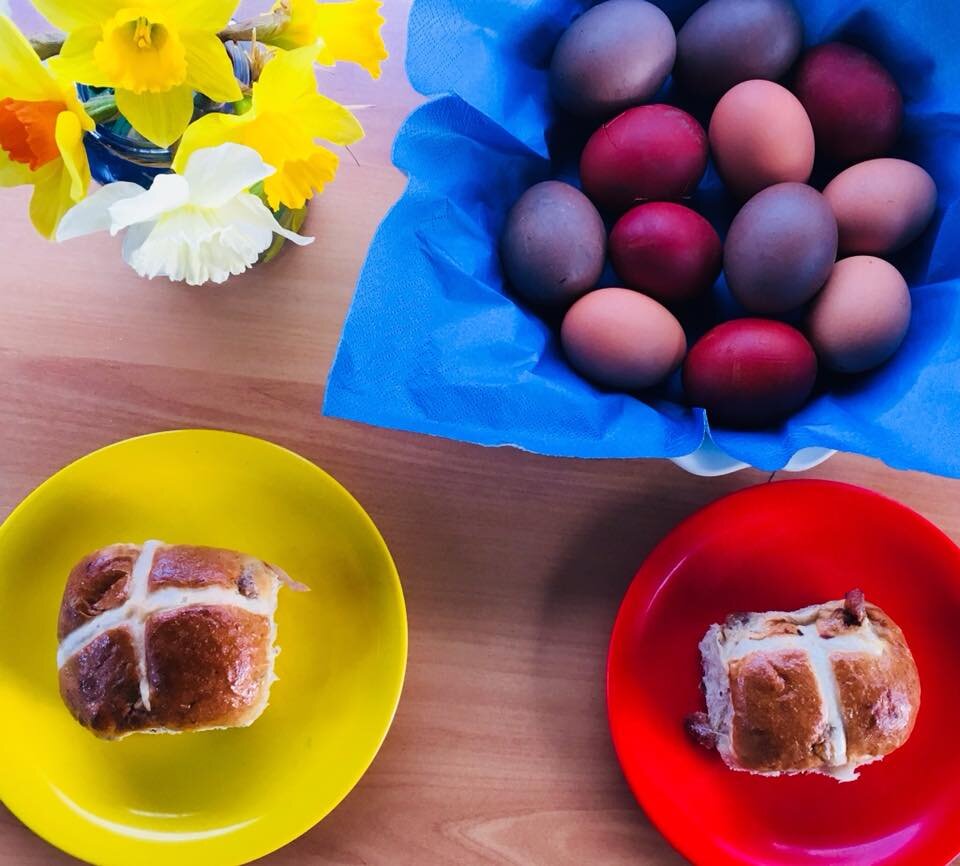
Over the years we have experimented with lots of different ways of dying eggs. The basic principle is that you add your dye materials to a pan of water and bring to the boil. This can be left simmering until the water starts to change colour. At this point raw eggs can be added to the dye bath you have created. Once the eggs are hard boiled they can be removed from the water and (fingers crossed) they should have changed colour. These colourful eggs can make a really impressive Easter breakfast.
The list of natural dyes is endless ranging from red cabbage to coffee. We have tried them all to differing results. One of the drawbacks of dying eggs in the UK is that the eggs we buy here are general brown. A lot of the egg dying guides you see online originate in America where commercial hen eggs are typically white. This means we can’t hope to get the same results, unless you can get your hands on white eggs.
These dyes produce great results on white eggs.
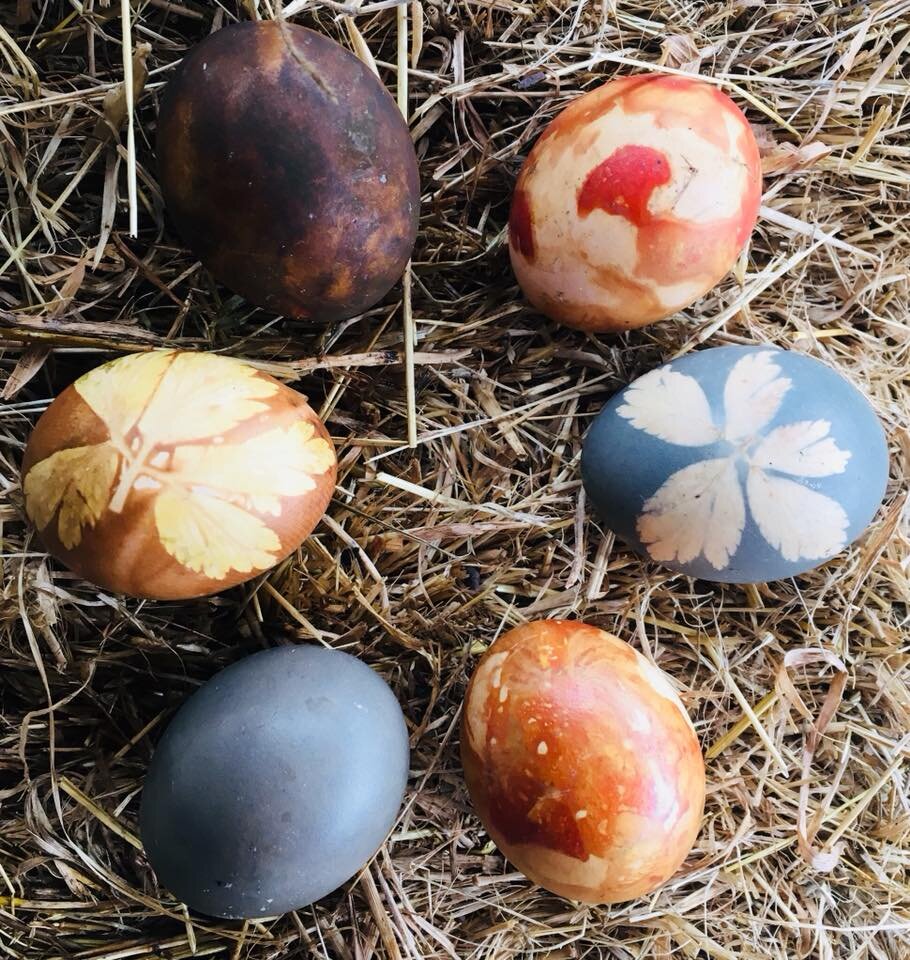
Some of our experiments using brown eggs.
The most consistent dyes we have found are red cabbage and brown onion skins. You can get some beautiful results, by using leaves and flowers to make patterns on the eggs. You simply place the flower or leaf on the eggs, then put it inside a length of old tights to hold it in place. Once this has been tied up the egg in can be put in the dye bath.
An alternative is the Latvian method of dyeing eggs. The onion skins are moistened to make pliable and wrapped around the eggs and put into a length of tights. Leaves and flowers can be layered between the eggs and the onion skins too. The whole thing is boiled until the egg is cooked. This results in a marbled pattern.
In Latvia the first eggs of Spring are dyed in this traditional manner.
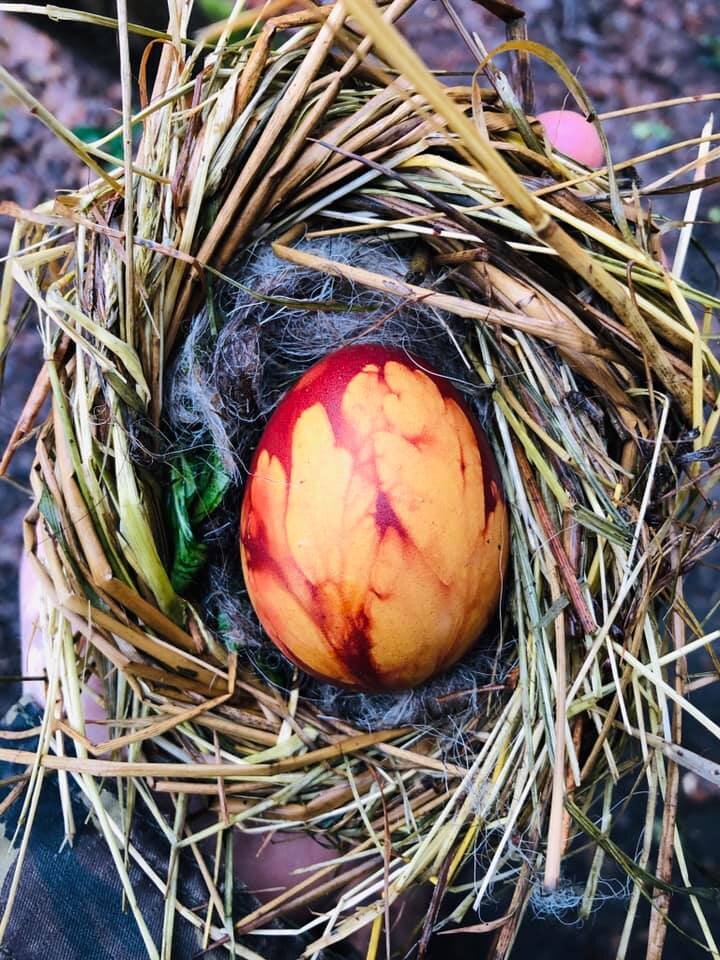
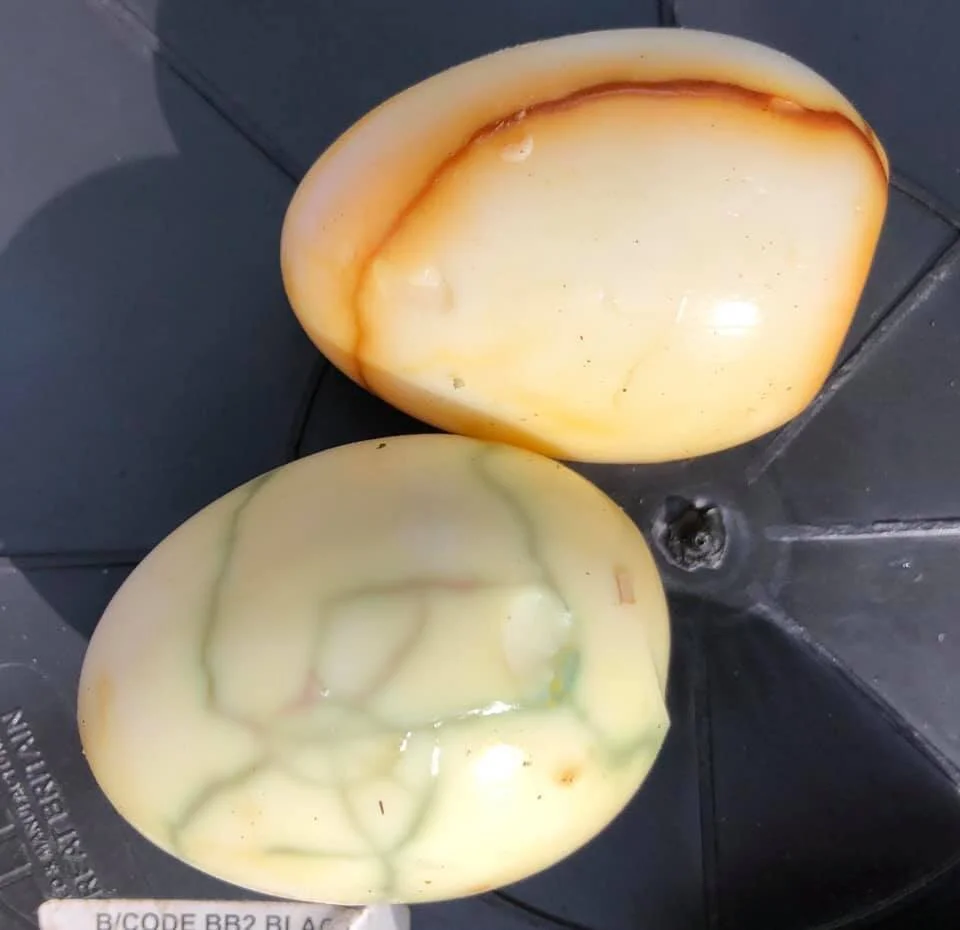
During one session last year our campfire was too hot and the pan boiled too rapidly. The eggs bounced around inside the pan and cracked. When the eggs came out the pan the children were delighted that we had '“Made Dragons Eggs!”
You can recreate our Dragons Egg ‘mistake’, by taking your hard boiled eggs out the pan, cracking the shells and then putting them back in for a while longer.
We hope you have as much fun eggsperimenting as we usually do in the woods!

